
There are several ways to remove a watermark from a video, but most methods involve covering or obscuring the watermark while keeping the rest of the video intact. Here are a few methods you can try:
- Use the clone stamp tool in video editing software like Adobe Premiere Pro or After Effects to cover the watermark with a similar area of the video.
- Use the mosaic effect to blur or pixelate the watermark, making it less visible.
- Use a software specifically designed for removing watermarks, such as Inpaint, Watermark Remover, or Video Watermark Remover.
- Re-shooting the video if possible, this is the only way to completely remove the watermark from the video.
It’s important to note that it is illegal to remove or alter a watermark without the permission of the copyright holder, and doing so may be a violation of copyright law.
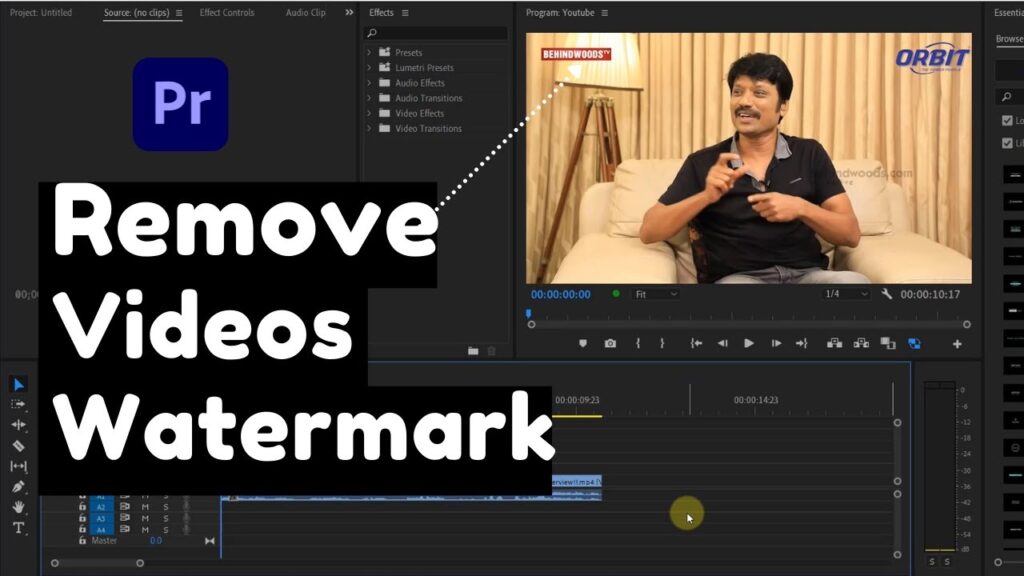
If you’re looking to remove watermarks from videos in Adobe Premiere Pro, you’ve come to the right place. As everyone knows, videos that have watermarks added to them can quickly detract from the overall look and feel, making them appear cluttered and messy. Fortunately, with a few quick steps you can easily remove watermarks from videos in Adobe Premiere Pro.
Before you begin, you should make sure that your video file is already open in the Adobe Premiere Pro timeline. Once the video is open, choose the watermark layer and duplicate it (Ctrl + D). Next, hide the original layers by clicking on the left eye icon, which is visible on the left side of the timeline. After that, you will be able to see the watermark layer only.
Now that the watermark layer is visible, you can remove it easily. It can be removed either by deleting it or by hiding it. To hide the layer, click on the left eye icon to make it disappear from the timeline. If you want to delete it, select it by clicking once and hit the delete button on your keyboard.
You can also use the Type Tool in Adobe Premiere Pro to remove watermarks. Locate the text layer or the logo layer that you want to remove, select it, and then use the Type Tool (T) on your keyboard to edit the layer. While the Type Tool is active, you can either delete the contents of the layer, or you can replace it with a blank layer.
Finally, once the watermark is removed, don’t forget to save your project. This is essential in order to keep the changes that you have made. You can save your project by pressing Ctrl + S on your keyboard.
That’s it! Now you know how to remove watermarks from videos in Adobe Premiere Pro. With this simple tutorial, you’ll have no trouble removing watermarks from your videos. Go ahead and get started.